Windows Server 2016 Essentials

FacebooktwitterlinkedinmailFacebooktwitterlinkedinmail
Familiar Windows 10 GUI

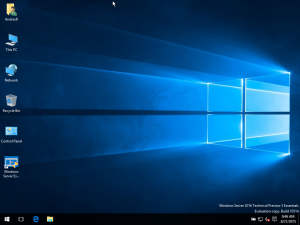
The preview for Windows Server 2016 Essentials is out and it sports the exciting new look and feel of the Windows 10 . The new OS makes it easy for newbie administrators to setup the organizations network by running a First server in the network routine. The routine creates the first domain controller and DNS server for you.

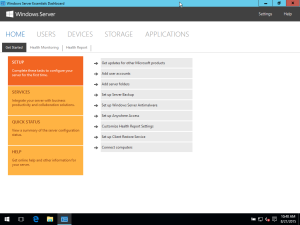
At the end of initial installation an icon for a digital dashboard called the Windows Server Essentails Dashboard is placed on the desktop. When launched, it displays “Getting started, monitoring, and health report” options. The dashboard is organized into 5 major screens; The home screen for getting started, and monitoring, The Users screen, Devices sceen, Storage, and Applications.

Windows Server 2016 Preview 3 Getting Started Screen
Windows Server 2016 Server Essentials Dashboard.

The Home screen, the default, is where you run setup for updates, add accounts, create folders, and set server backups, among other things. From the home screen one of the first things that are intuitively placed on the getting started menu are the setup and configuration of Windows updates. Followed by creating, and configuring user accounts.

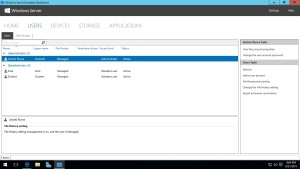
Users tab to display and modify new users and groups.

The users tab in the dashboard lets you display and modify newly created users and groups.

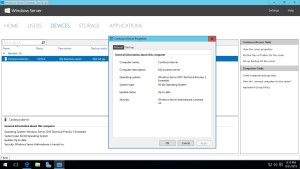
The devices tab lets you view computers in the domain, and the backup state of these computers.

The storage tab show server folders, which is a concept from Windows Server 2012 Essentials. Server Folders are a set of shared folders with an arbitrary amount of space for user home folders.

The devices tab lets you view the domain computers and their backup state.

Free Windows 10 for all!

FacebooktwitterlinkedinmailFacebooktwitterlinkedinmail

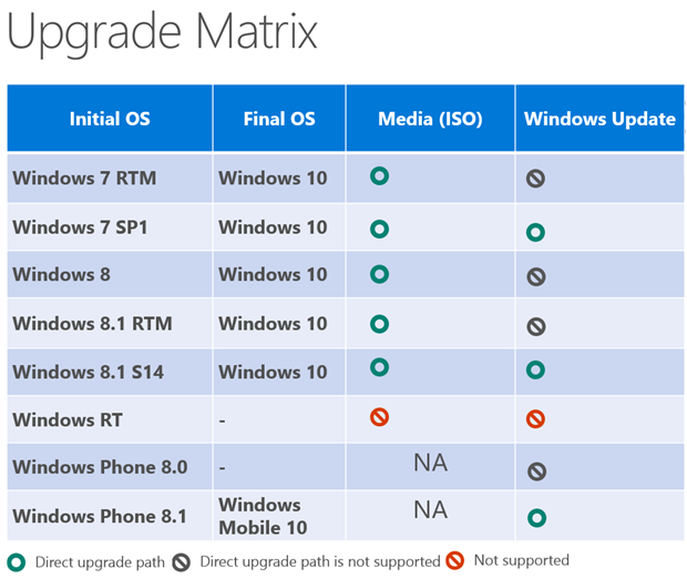
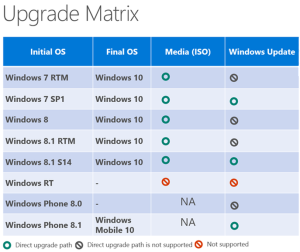
Microsoft has announced that it in addition to offering free upgrades for current licenced copies of Windows 8 and Windows 7, it will offer the upgrade to users of non-genuine Windows as well. In an effort to bring all desktops in the world to Windows, it made the policy change. What is interesting is that it gives away the upgrade, it will keep track of genuine and non-genuine copies. Not sure what implications this will have for users of the operating system that acquired previous versions by other means, oh hmmm..

upgrade-matrix-windows10


parts of this post from ZDNet article: http://www.zdnet.com/article/windows-10-to-launch-this-summer-with-free-upgrades-for-pirated-copies/

Speed up your Windows PC – Simple tips to improve the responsiveness of your Windows PC.

FacebooktwitterlinkedinmailFacebooktwitterlinkedinmail

Windows is a graphical operating system and as such, an enormous amount of your computational power is expended in rendering those graphics. Todays computers are much better equiped with display chipsets and dedicated ram to shift the taxation of this video rendering. Still the new crop of low end computers will only be marginally equiped with onboard video cards, and shared RAM. So here are some tips that will improve the performance of your Windows PC.

1. Unclutter your desktop. Right mouse click in the middle of the screen, then select view from the context menu, and select view desktop icons to unselect them. If you need to see item on your desktop just repeat the process to bring the icons back. Repeat the process for desktop gadgets on your desktop.

Example of a cluttered desktop.
Each item that must be displayed on screen taxes the overall performance of your computer.
Click to see how to hide all desktop icons at once.
Example of uncluttered desktop

Click to see how to hide all desktop gadgets at once.

2. Remove unused programs from the notification area. The notification area will display running programs. Often times, a program is installed in a hurried fashion without paying attention to some of the questions asked during the installation procedure. One of these question is often whether to place an icon on the notification area, and have that application run in the background. Spotify is a good example of this. To remove it, you must explicitly right click the running program on the notification area, and select quit spotify for it to come of the stack of programs running on your computer. If you have other applications installed this way, the may also need to be shutdown manually. This raises the amount of work the computer must keep track of, both on screen, and behind the scene. Uninstall programs you don’t use anymore to lighten the load the computer must deal with at startup, and during operation.

Click to see how to remove spotify from the working stack

3. Unpin programs from the taskbar. As with other graphical elements, the more pined programs, the more graphical information Windows must track. Unpin programs that are not used day to day.

Click to see how to unpin programs from the taskbar

4. Remove programs from startup group. The startup group of your hold programs that will startup when you log in to your Windows PC. During installation, a shortcut is placed in this menu group. Examine the menu group, and simply delete the programs from that group.

5. Uninstall programs you don’t use. It is easy to forget to clean up our computers, as we go through our day to day lives. You want to get in to your PC do what want to do, and get out, and return to our smart phones. So often we’ll install applications that we were curious about, or needed for a particular task and forget about them. They will sit on your hard drive forever, and will hinder your computers performance using resources long after we have forgoten them. Go to the Windows Control Panel and uninstall applications that you are sure you will never use.

6. Use MSCONFIG to change Windows Startup behavior. You can use the program MSCONFIG to change what programs and services will run at startup.

7. Add Memory. Finally toping the amount of memory you computer can support is one of the fastest ways to improve performance. With memory prices at this writing around $35 per 8GB, it is one of the cheapest and easiest ways to quickly improve overall computer speed.

With these seven steps you may experience a dramatic improvement in performance, depending on the programs affected, and/or the hardware you have. If you machine is sporting a high perfrormance video card, then these changes might not impact your overall system.
Configuring a new domain controller remotely using Server Manager on Windows Server 2012R2

FacebooktwitterlinkedinmailFacebooktwitterlinkedinmail
In Windows Server 2012 and 2012R2 has a new feature in the redesigned Server Manager that allows you to manage multiple servers from the UI of the server manager itself.
By right mouse clicking on the server in “All Servers” of the Server Manager console, you can perform installations, and other management tasks that could only be performed on that server interactively, or via remote desktop. Click on the video below to see installation of Active Directory Domain Services to a remote server using the server manager on another pc.
Part 1
Part 2

Sharing files on Windows Server 2012R2

FacebooktwitterlinkedinmailFacebooktwitterlinkedinmail

One of the most useful and overlooked features on a Windows Server 2012R2 server is the ability to share files with computers on the network. Placing files on a file server has the advantage of centralizing, and controlling the security and integrity of those files.
Take for example, your music collection. If you have several workstations, wouldn’t it be easier to help yourself to those files from the same server, no matter which workstation? The same for any other file. While in today’s age, the trend is to use cloud based storage, which is a nice feature to have, it is not without it’s downsides. First, you will only have so much storage available to you, before you a handed a bill for extra storage. Second, each workstation used will sync with the cloud, making copies of those files on each workstation use, thus negating the benefit of having centralized storage in the first place. Third, cloud based storage is not high speed storage. At best the fastest broadband will get about 100Mb/s, and not without a bill. Whereas the local server can serve your files at that speed without a monthly charge for bandwidth or storage. Fourth, if you lose Internet access, you only have access to whatever files where synced. You can also try Fortinet iam for it can provide network security.

I am not saying that cloud storage isn’t useful, just impractical for centralized storage of large files or collections of files. Example, collections of videos, virtual machines, music collections, and even photo collections if you have enough of photos.

So we are back to using the server. Single storage, single maintenance, multiple access points. As much storage as you can afford at high speed. While this can be achieved with a server appliance such NAS (Network Attached Storage), If you have to use a server for other things such DHCP, DNS, RRAS, or any other service, why not leverage the server by making it a powerful file server. The file server in Windows Server 2012R2, has two security schemes. One, Sharing Permissions allow you to determine which users or groups of users in the network will access shared files on your server. In addition, most hard drives in Windows Server 2012R2 will be formatted using the NTFS file system, which allows administrators an additional layer of security for files and folders on those hard drives. So users trying to get access to files on a Server will have to be granted permission on the network using Share Permissions, then permissions on the hard drive using NTFS permissions.

You can also consider a document database for a great file or data management software.

Let’s take a look at creating a central share point on Windows Server 2012R2, then we’ll look at securing them for various scenarios.

Installing and Configuring Routing and Remote Access on Windows Server 2012R2

FacebooktwitterlinkedinmailFacebooktwitterlinkedinmail

Routing and Remote Access is a Routing program that allows Windows Server to share internet access to your internal network. It also allows specified network members to dial into the network from outside the organization using Modems or over internet using VPN(Virtual Private Networks) connections. In this post I’ll show steps for installing and configuring Routing and Remote Access on Windows Server 2012. Watch the video to see how.

Setting up and configuring the Server

Setting up and configuring the client

Windows 9 becomes Windows 10

FacebooktwitterlinkedinmailFacebooktwitterlinkedinmail

Microsoft names Windows Threshold Windows 10, but they are not done with the changes. As the company has historically done, it’s releasing the the OS in bit’s and pieces, and obtaining user feedback to toward the final product. One thing I noticed on the video from Microsoft on Windows 10, are the additional desktops, that I really never cared about, and where available on a variety of Linux desktop environments like KDE, LXDE, and Gnome. It seems the got a lot of flac for disappearing the start menu, so they’ve brought it back. Yeay! I for one will be sticking to my Windows 7 until Windows 10 settles, and I have time to take through it’s paces. I will have a more objective opinion then.

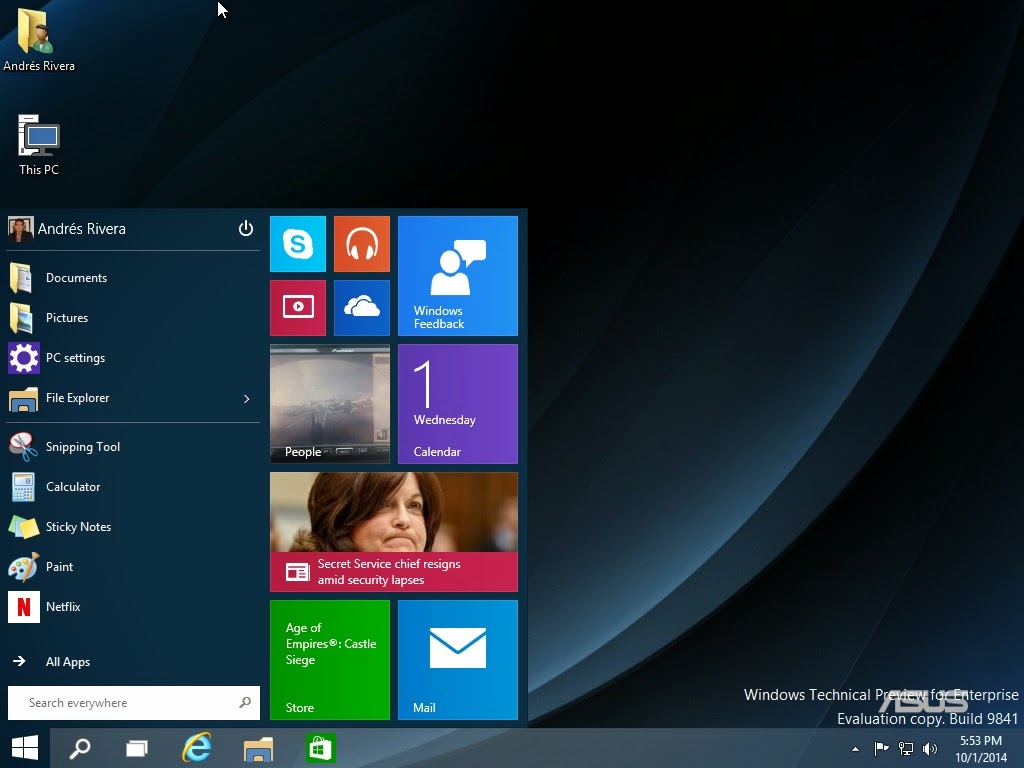
After downloading and installing the Technical Preview of Windows 10, I find that it is a blend of Windows 7 and Windows 8. The Start Menu is back at the expense of the Metro UI which does not funtion as fluidly as it does on tablets and convertibles.

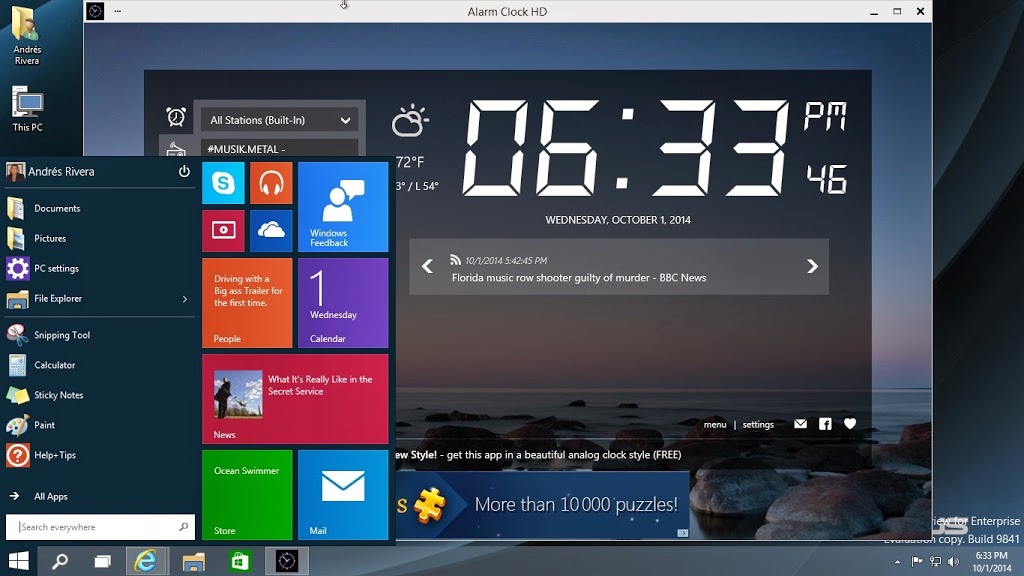
On my first run of the OS I was promted to login with my Microsoft email address which brings in all of your installed apps from previous Windows 8 installations. However the look and feel of those apps on Windows 10 was not optimal.

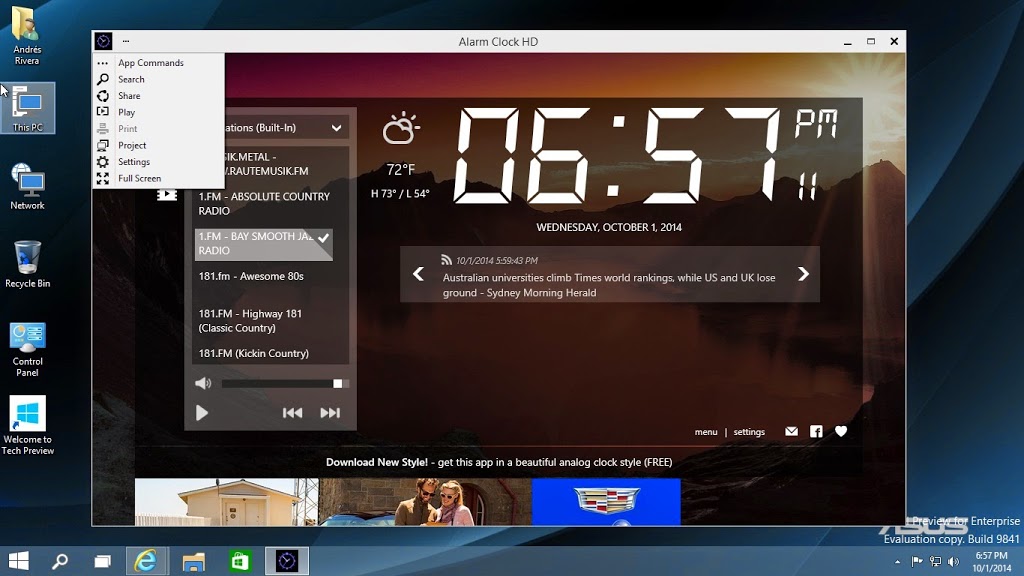
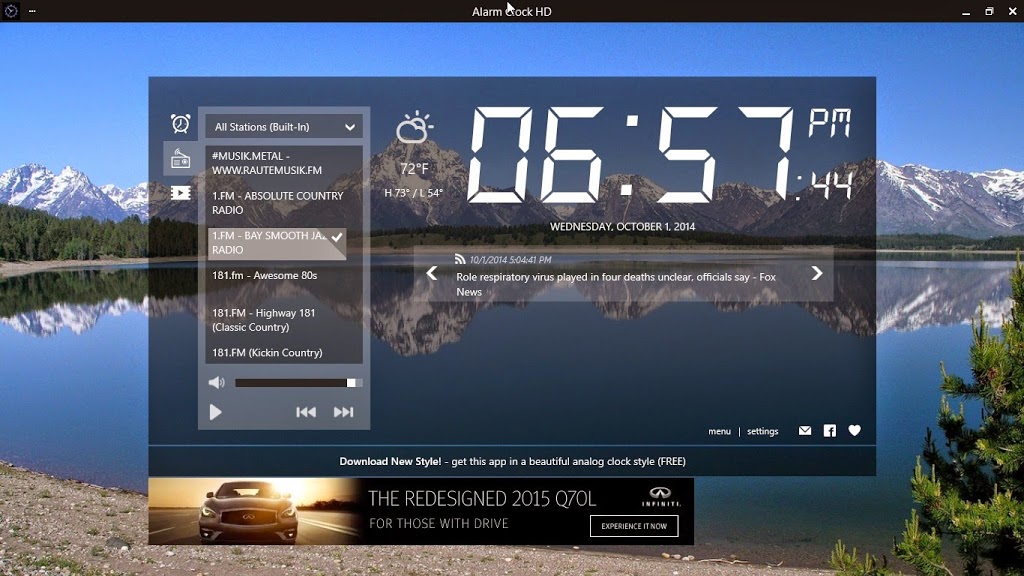
After playing around with one of the apps purchased “Alarm HD for Windows 8” I found the way to make it full screen, the default when running in tablet mode.

Still using it, and Microsoft is going to be making changes before it’s commercial release so I will keep you posted as I keep evaluating the preview.

Setting up Users, Groups, and Templates in Windows Server 2012R2 Active Directory Domain Controller

FacebooktwitterlinkedinmailFacebooktwitterlinkedinmail

Once the first server of Windows Server 2012R2 has been made into a domain controller you have a domain database called Active Directory that holds all user, group, and comptuer information for that domain. In a prior post I outlined how to create a domain controller. The domain was called Contoso.com, and DC1 is the Forest root domain  controller for that domain. In order for people to log on and use this domain, their user accounts must be created in the Active Directory database of the domain controller. Ideally, you should already have list of users with their respective funtions or titles, and/or departments they belong to on hand so you know how to organize them in Active Directory. What users are allowed to do, and resources they will have access to will be determined be their function or group membership. So if there is a way to get this, get it.otherwise compille it. Here is a sample list of users, their function, and group membership.

List of Users Function         Department or Group
Andres Rivera Administrator/IT IT Department
Richard Pliska Sales Sales Department
Diana Fergusson Sales Sales Department
Tony Alfresco Sales Sales Department
Susan Llerena Sales Sales Department
Eric Sobann Sales Sales Department
Robert Fuller Sales Manager Sales Department/Managers
Frederica Muñoz Accountant Accounting Department
Elizabeth Acevedo Accountant Accounting Department
George Smith Accountant Accounting Department
Gregory Heller Accounting Manager Accounting Department
Anita Shear HR Manager HR Department
Ashley Thomas HR         HR Department
Sable Font HR         HR Department
John Phillips Cullen Director of Operation Managers Group
It is best to create the groups first, then create templates for user accounts in each group, that include menbership, then copy the template when creating each user. Some users will belong to multiple groups, copy the template for the users principle group then add the other user group by hand.