In this post we use Fedora’s built-in built in remote control progam VNC to connect to another Fedora host that has been preconfigured to receive uninvited connections.
Preparing the VNC Server
Connecting to the VNC Server from the VNC client

IT BLOG, articles, and ebooks
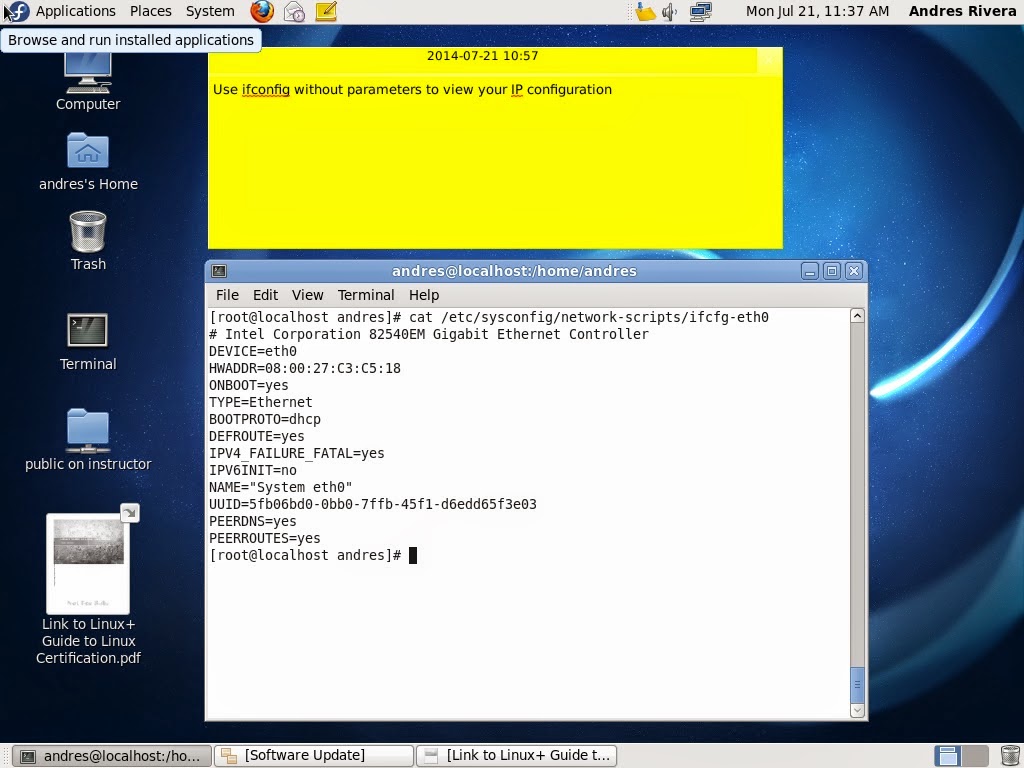
Watch the video to configure the network adapter for typical settings
When using Fedora13, you will probably want to connect and use resources from Windows computers. To do this you will need enable Samba, a utility that makes Linux use SMB’s (Server Message Blocks) the protocol Windows uses to comunicate with other Windows computers. Most modern Linux distros have this functionality built-in, but in early editions of Fedora13 it does not. Here how to enable it: