The preview for Windows Server 2016 Essentials is out and it sports the exciting new look and feel of the Windows 10 . The new OS makes it easy for newbie administrators to setup the organizations network by running a First server in the network routine. The routine creates the first domain controller and DNS server for you.
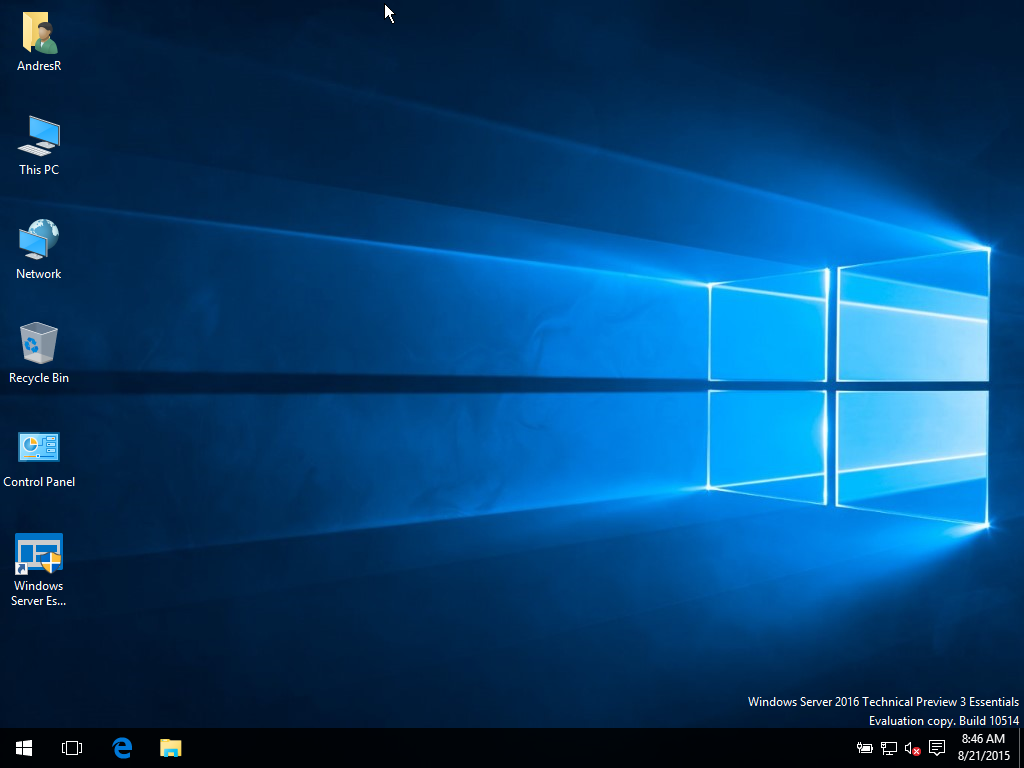
At the end of initial installation an icon for a digital dashboard called the Windows Server Essentails Dashboard is placed on the desktop. When launched, it displays “Getting started, monitoring, and health report” options. The dashboard is organized into 5 major screens; The home screen for getting started, and monitoring, The Users screen, Devices sceen, Storage, and Applications.
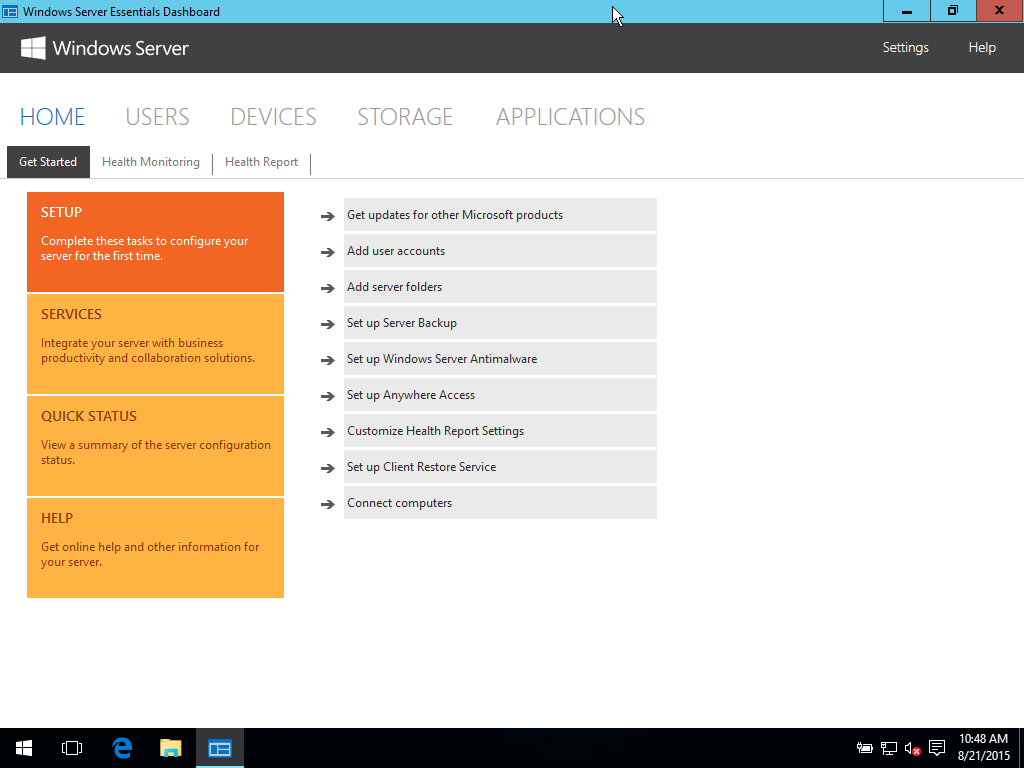
Windows Server 2016 Server Essentials Dashboard.
The Home screen, the default, is where you run setup for updates, add accounts, create folders, and set server backups, among other things. From the home screen one of the first things that are intuitively placed on the getting started menu are the setup and configuration of Windows updates. Followed by creating, and configuring user accounts.
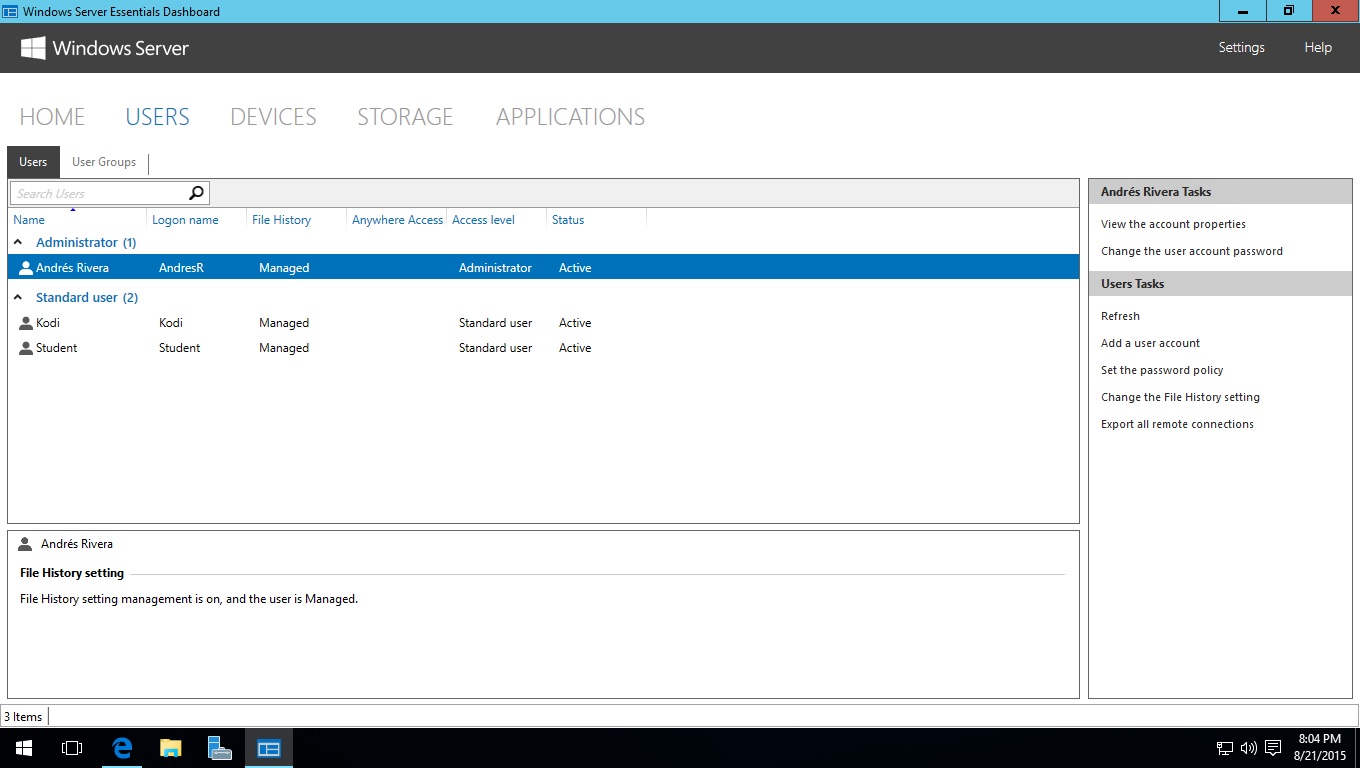
Users tab to display and modify new users and groups.
The users tab in the dashboard lets you display and modify newly created users and groups.
The devices tab lets you view computers in the domain, and the backup state of these computers.
The storage tab show server folders, which is a concept from Windows Server 2012 Essentials. Server Folders are a set of shared folders with an arbitrary amount of space for user home folders.
The devices tab lets you view the domain computers and their backup state.
When using Fedora13, you will probably want to connect and use resources from Windows computers. To do this you will need enable Samba, a utility that makes Linux use SMB’s (Server Message Blocks) the protocol Windows uses to comunicate with other Windows computers. Most modern Linux distros have this functionality built-in, but in early editions of Fedora13 it does not. Here how to enable it:
Log in to your Fedora13 machine
From the Applications Menu select System Tools, then select Terminal
In the Terminal session type: su to elevate you to super user.
Provide to Super user password.
From the new prompt type: yum install samba
Allow the program to download and install. If prompted to install additional software type y, and press Enter.
Once the installation is finished and you are returned to the command prompt, goto the System Menu, and select Administration, then select services.
On the services console locate and enable smb. Once enabled close the services console.
From the System menu, select Administration, then select Firewall. Provide root credentials when prompted.
From the firewall console locate and click the check boxes for Samba, and Samba Client. Click Apply on the menu bar to enable. Close the Firewall console.
To test the networks functionality goto Places menu and select Network.
Right mouse click Windows Networks and select open from the context menu.
You should see a series of computers or workgroups.
You can use the local group policy object in Windows to create a banner at logon. First open an MMC from the search line.
Select file, then Add/Remove Snap in
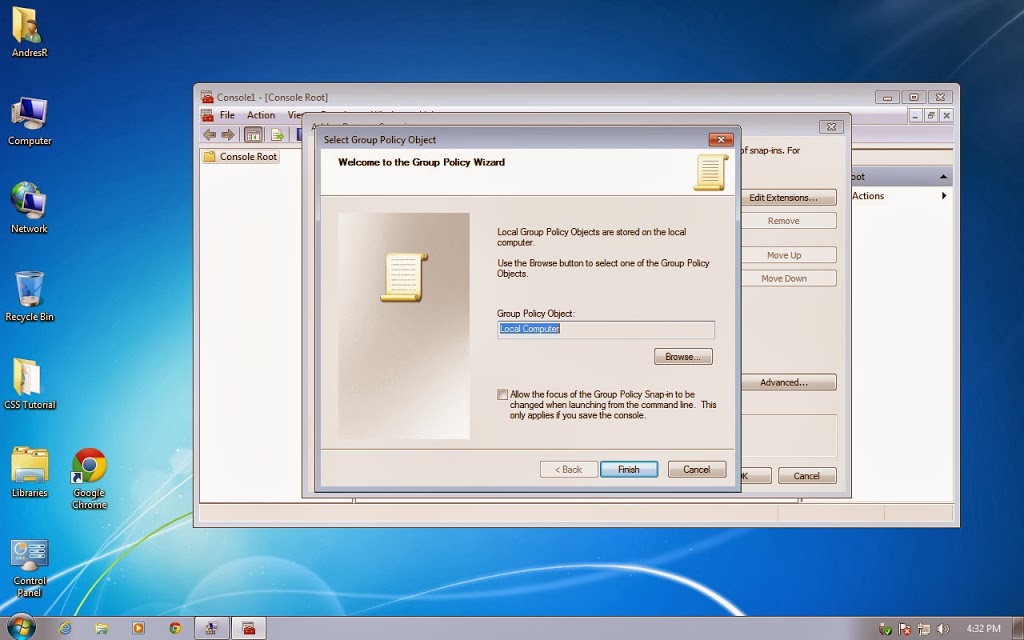
Select Group Policy object from the list of snap ins. then click add.
Accept local machine and click finish. Then click OK
Expand local computer policy, computer configuration, Windows Settings, Security settings, Local policies, Security options. On the right pane scroll down to locate: Interactive logon: Message text for users attempting to log on, and Interactive logon: Message title for users attempting to log on. Add your message and title, then click ok.
Close console1 and save as Loca computer policey when prompted
Mirroring is a technology known as RAID1 (Redundant array of Inexpensive Disks). This technology allows to have a fault tolerant disk in the event of a hardware failure of you main hard drive. The idea goes like this. You have two hard drives of relative equal size and preferably same make and model. Then you mirror the first disk to the second disk. Everything that is written to the first disk is written to the second disk. Should the first disk experience a hardware failure or fault. The second disk continues to operate, so you can continue to work without interruption. At you earliest convenience you can replace the failed disk, and restore the mirror. Lets see how this is done
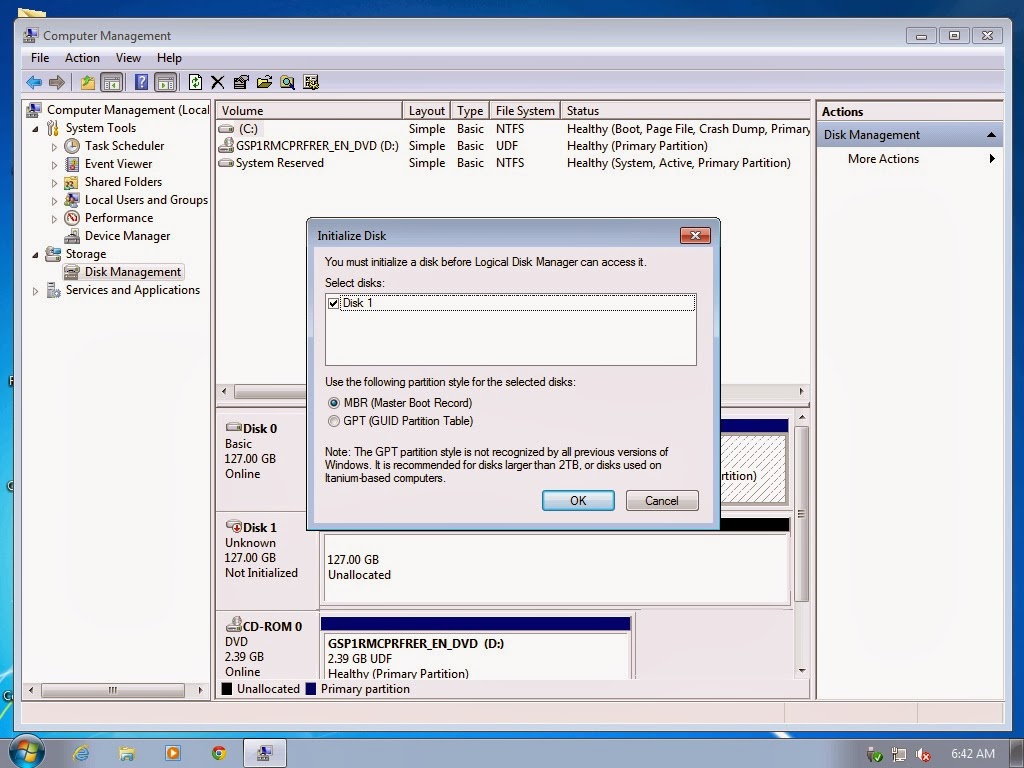
First add a disk of the same size as the one you have in your computer. Typically this will be a new sata disk. Connect the sata disk two one of the remaining sata port on the motherboard. Turn on the computer and go to the computer management console. Then select disk management.
The Initialize disk dialog box will show a new drive has been added to Windows. Click ok to initialize disk
You now have two disks. One with Windows, and one unallocated.
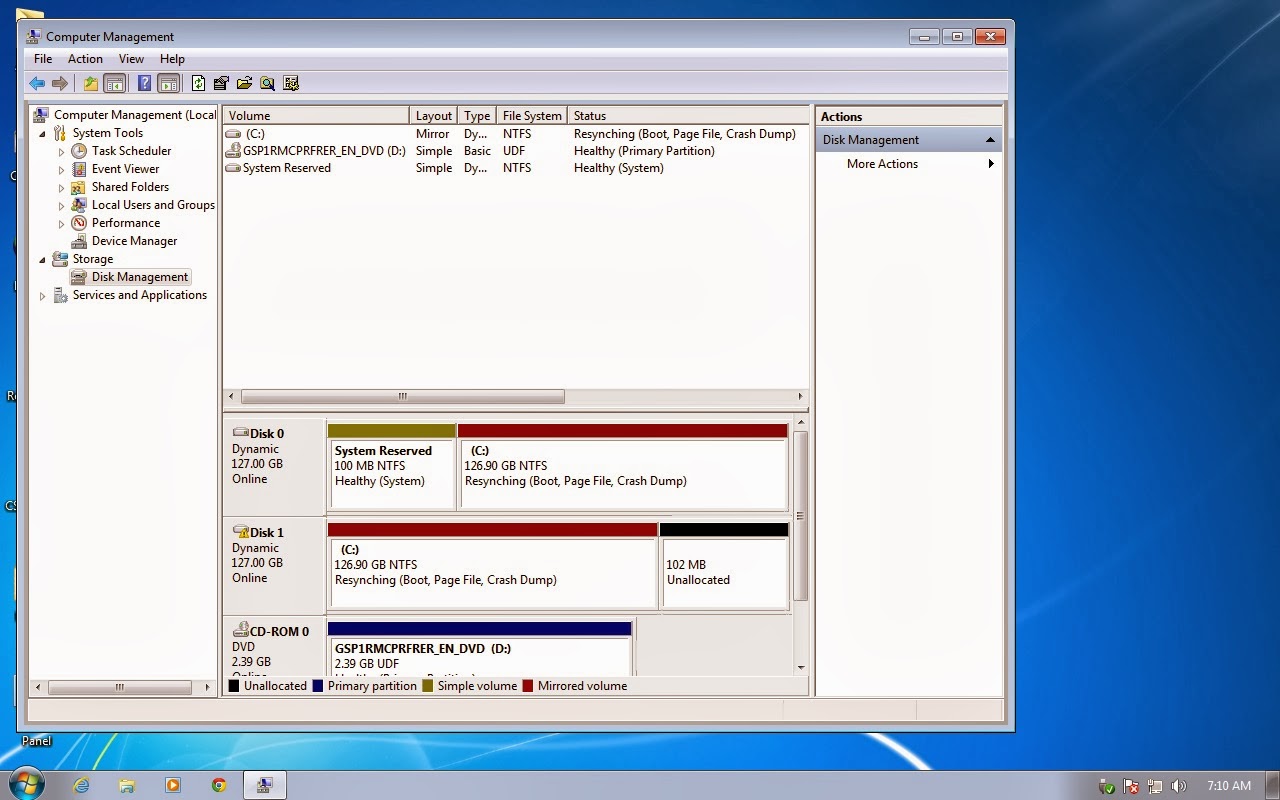
Right mouse click the disk that currently has Windows, this will usually be the C: drive. Then select from the context menu, Add mirror
Select the disk, and click add mirror button. Click Yes on the warning
No gadget, no app, just use the Windows built-in task scheduler to make your favorite Media Player wake or remind you. Use to be I would use the task scheduler to schedule backups, and maintenance routines. But one day I got creative. If the scheduler could start any program in Windows, could it launch a program based on file type as well. So I ran this experiment. I scheduled an mp3 file to start at 6AM every day. I sure wake me. And because there is no snooze button, I had to leap out of bed to get to the volume control.
This is how you do it:
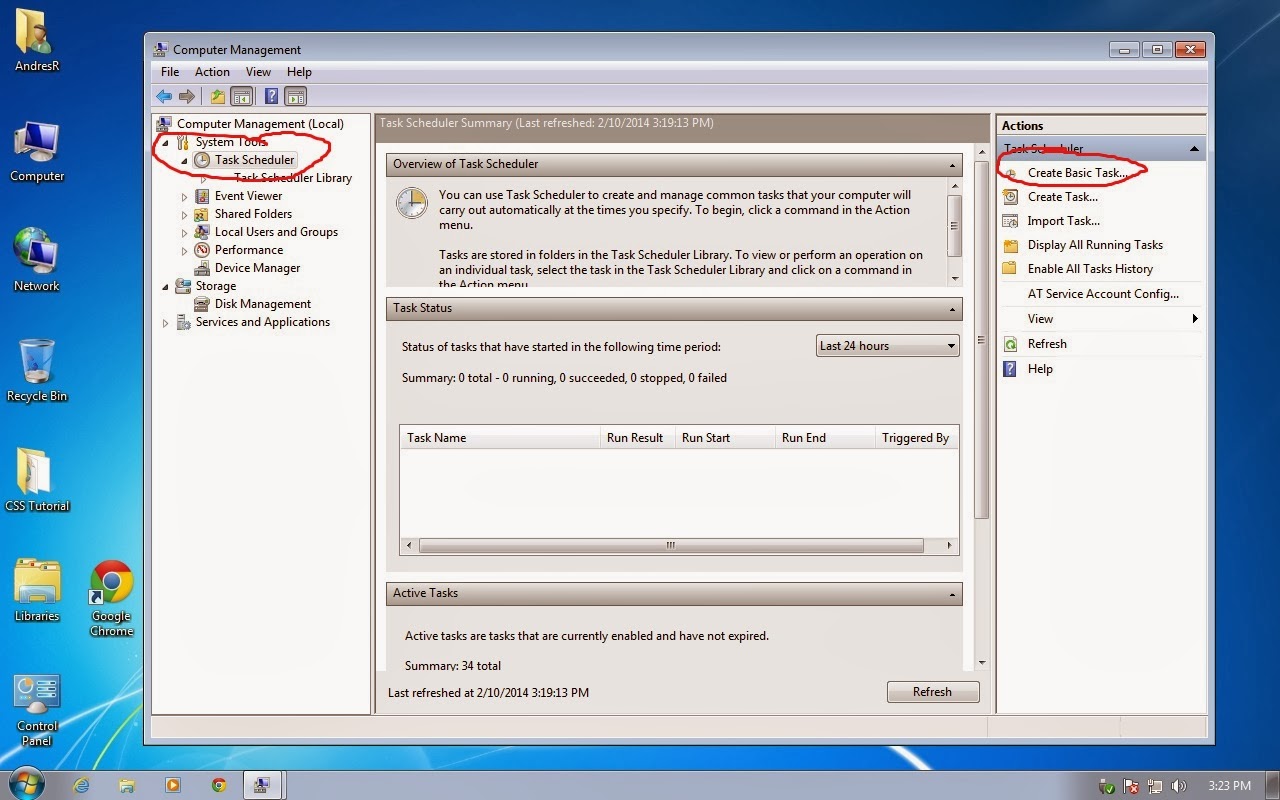
Right click computer and select manage
On the Computer Management console select the task scheduler, and choose Create Basic Task
Create name and description of task, then click next.
Select frequency and click next
Set start date and time, and select recurrence frequency, then click next
Select start a program and click next
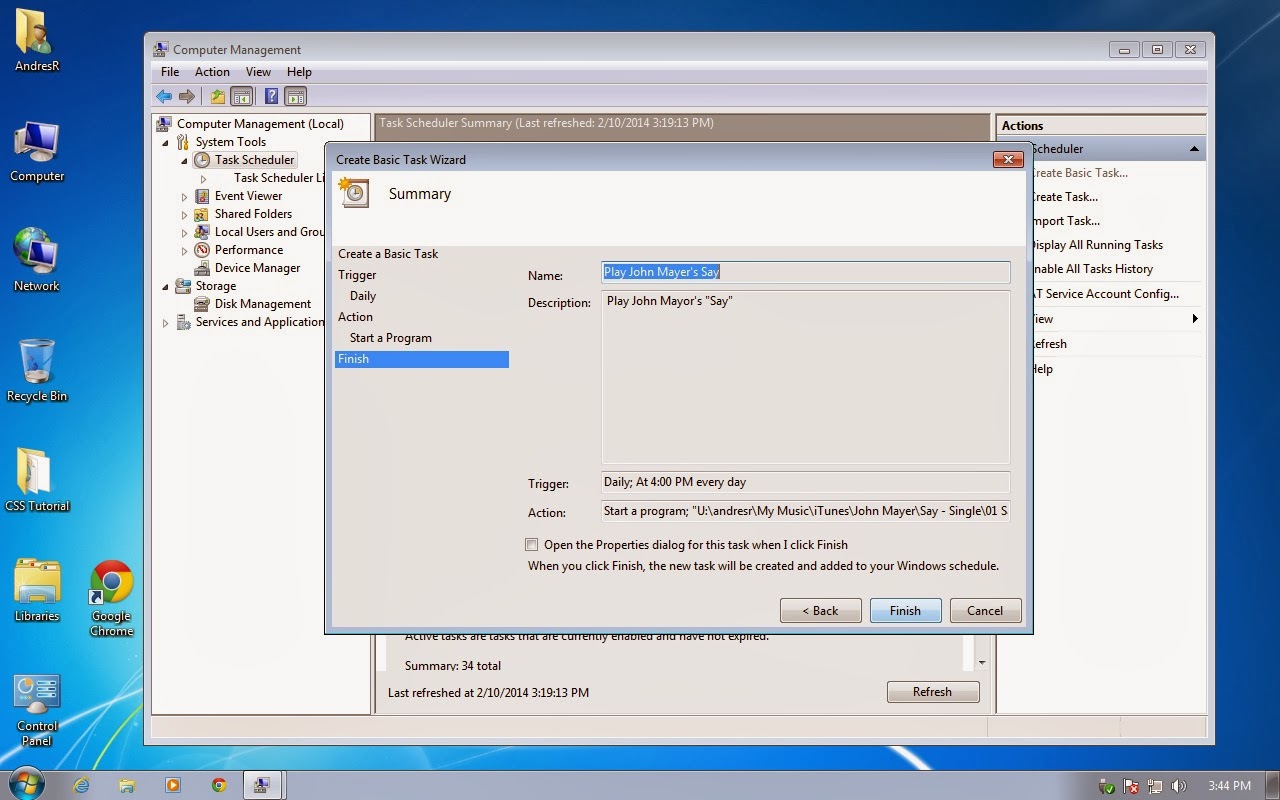
Enter the full path and file name of the audio file to play, then click next
On the summary page click finish
I set the scheduler for today at 4PM, so let see if it fires at 4PM.
The scheduler is configured to play Say every day, at 4pm.
Windows has always had the abitlity to share files and printers with other Windows PCs, and Macs. But did you know that you can have a web server as well? You can if you Windows PC is Windows XP Professional, Windows 7 Professional, or Windows 8 Pro. Let get right to installing the web server in Winodws 7.
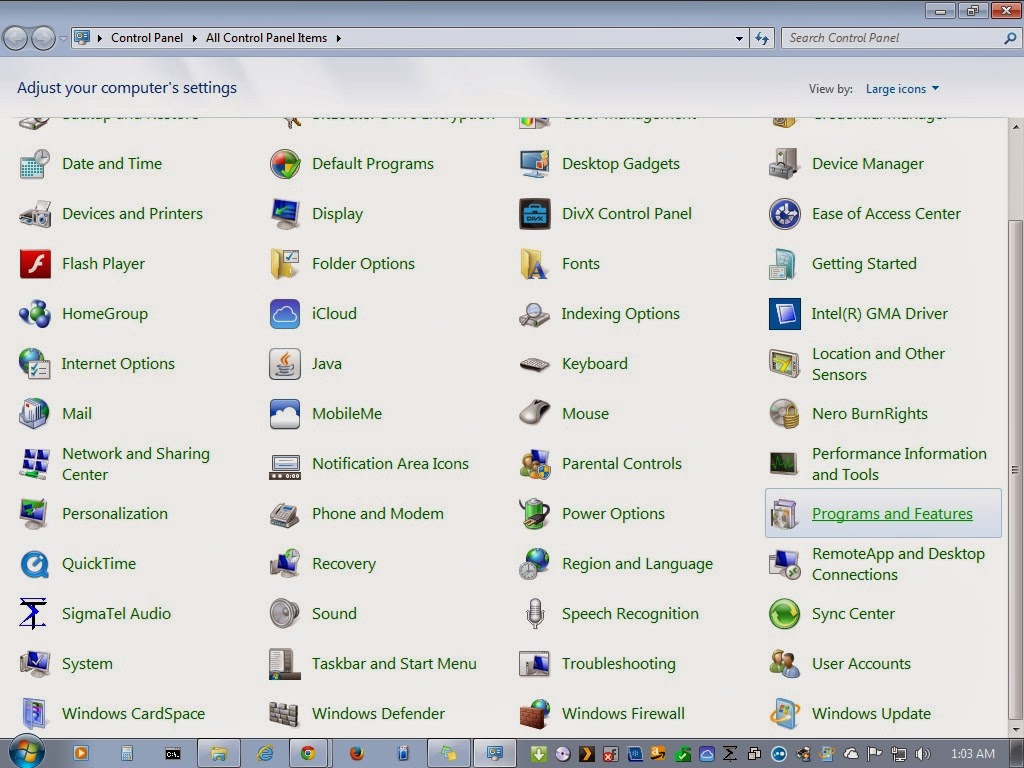
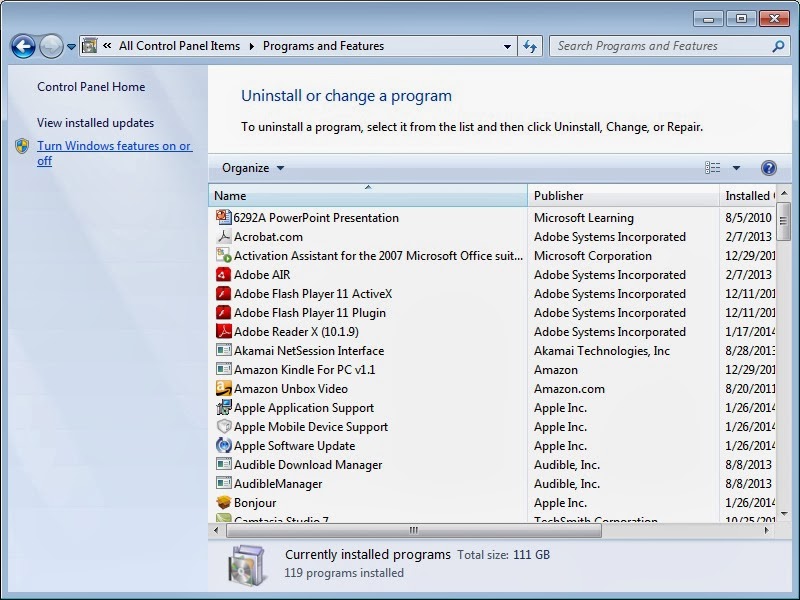
First, go to the control panel and find programs and features.
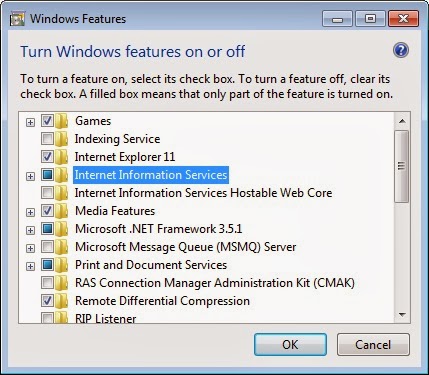
Click Turn on Windows features on or off.
Select Internet Information Servicies, and click ok.
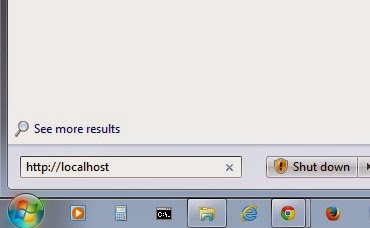
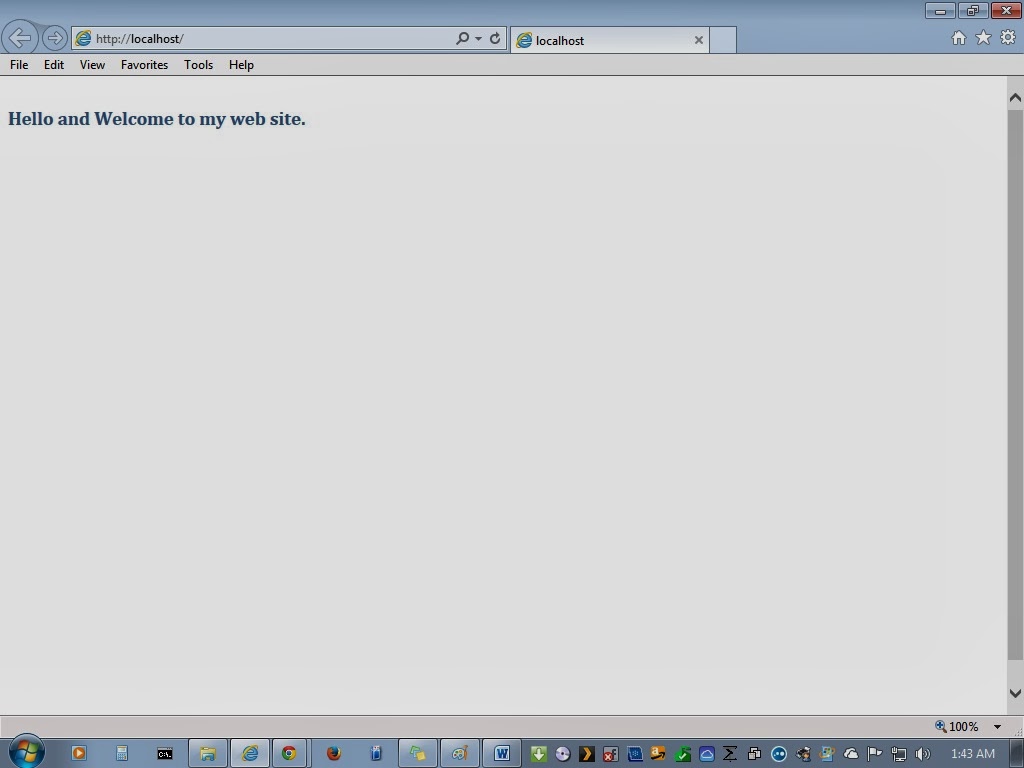
Once installed you can test the installation by typing the following on the search line. http://localhost
If installed correctly you should get the IIS (Internet Information Services) Logo.
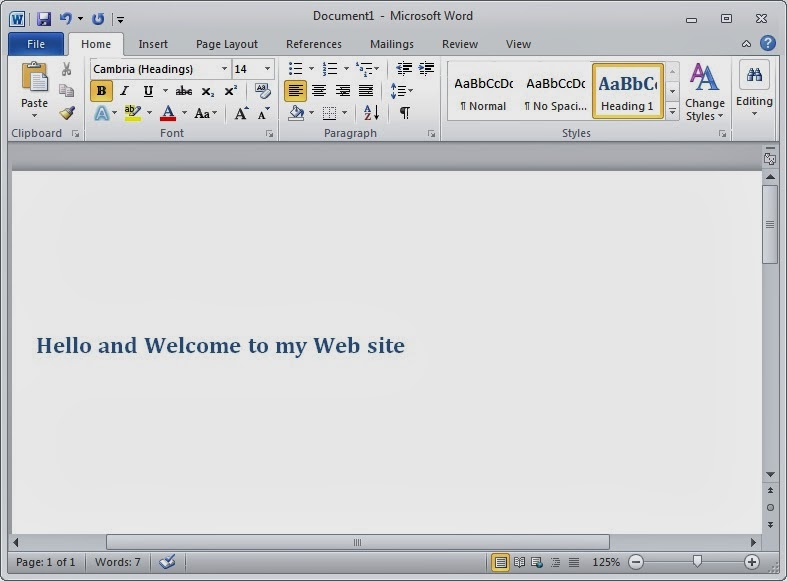
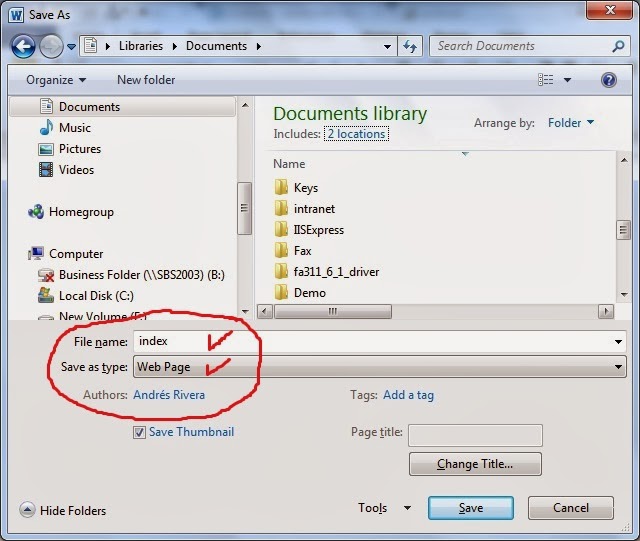
Now all you have to do is create content and drop it in the folder: C:InetPubwwwroot. If you have Microsoft Word create a document and save it your My Documents Folder.
Be sure to select “Web Page” from the Save as Type drop down menu. and use index as your file name. Click save.
Copy the index.htm file and the index folder from my docuemnts to c:inetpubwwwroot. Acknowledge the security warning, you may need to provide administrative credentials. Now test by typing the following on the search line
The copied page display from your web server
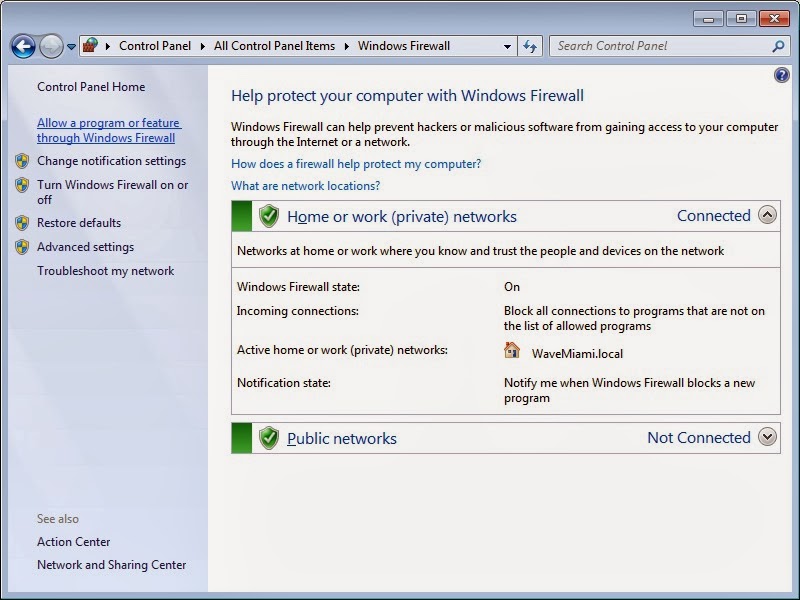
As you can see it is easy to install and use the Windows Web server. If you want to share this content with your workgroup just have your workgroup computers connect to your computer using your computers name or IP address from their search line. First allow the web server through your firewall. Click allow a program or service through the firewall.
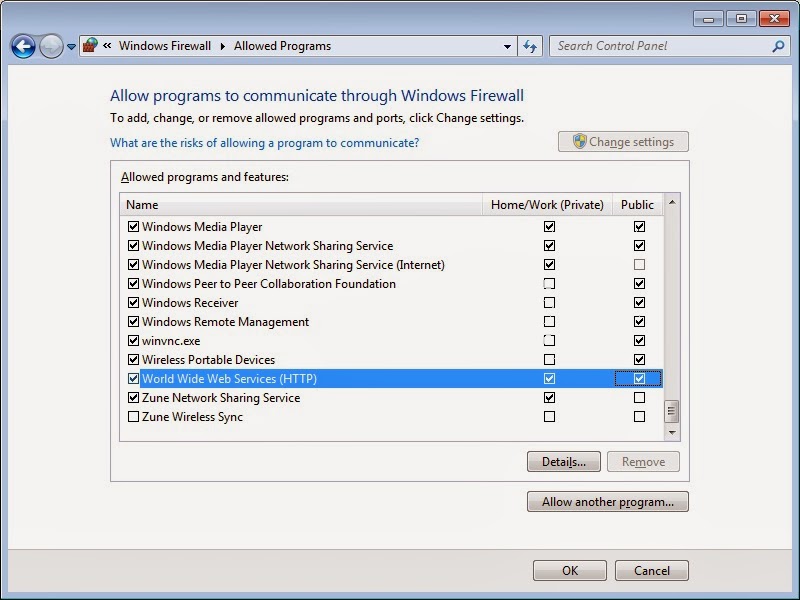
Click change setting, scroll to the bottom and select web server checkboxes as shown, then click OK.
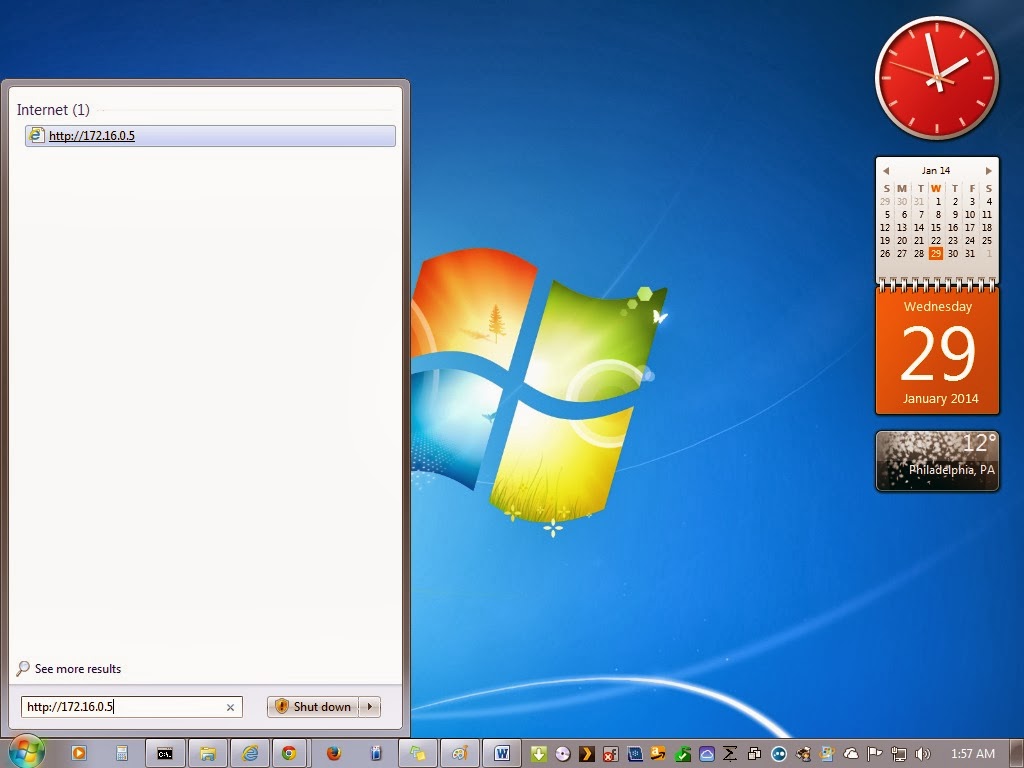
Now type URL for the computer serving the web page from another computer in the workgroup. Example:
http://172.16.0.5
The page is delivered to this workstation from the web server.
Pretty cool huhh! This is quick and easy way to publish information to your workgroup from your computer without having to involve IT, or get pay for hosting.
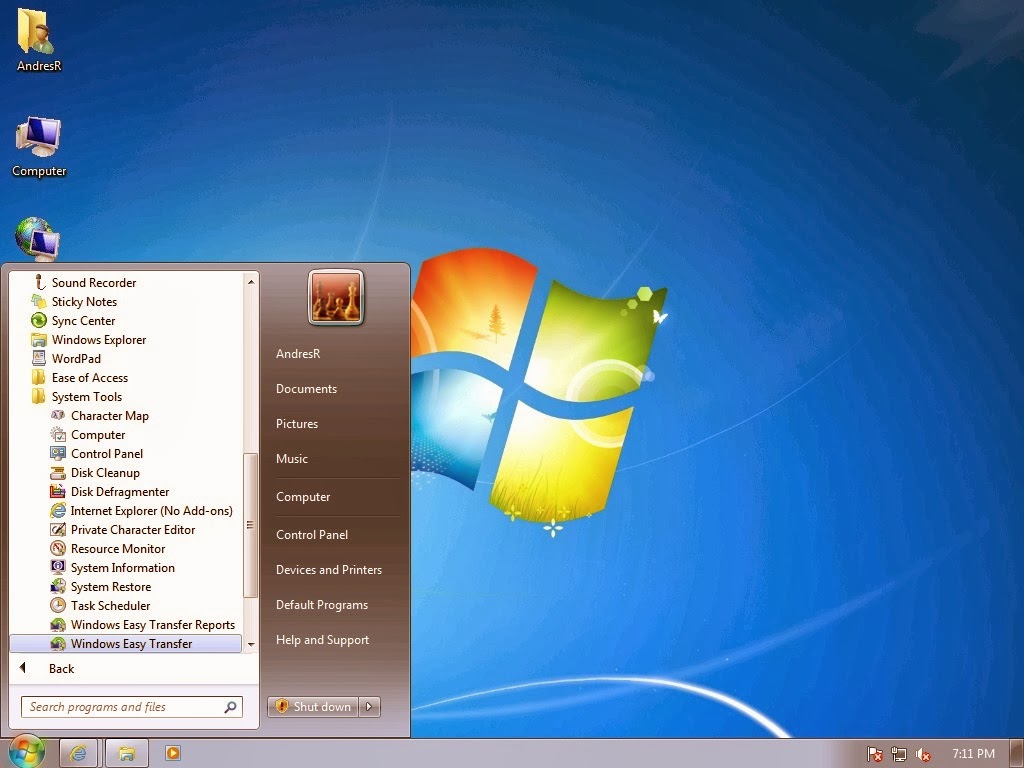
In this post I’ll discuss migrating settings and favorites from your old computer to your new computer using Windows 7 Windows Easy Transfer tool. First, go to the Start menu, and select Windows Easy Transfer from the System Tools submenu of Accesories menu.
The Windows Easy Transfer Welcome screen appears. This tool will transfer the information that you select from the choices presented on screen. Click Next to continue
You will be given a choice to transer information using an Easy Transfer Cable, a network, or an external hard disk or USB flash drive.
For this example I’ll be choosing the network option because it is readily available to me. Although the you could use an external hard drive. I think it is easier to to use either the easy transfer cable or the network, since the data to be transfered does not have to be transferred to the hard drive, then to the new computer, so you save some time.
When I click on the network button, I get the screen below. In this example I’ll be transfering from an Windows XP computer, so you must run the tool from Windows 7 first, and therefore I’ll select “This is the new computer”.
After I select the new computer, I get asked if I need to install Windows Easy Transfer on the old computer. I’ll select “I need to install it now”. If the old computer is running Windows 7 you don’t need to install the tool.
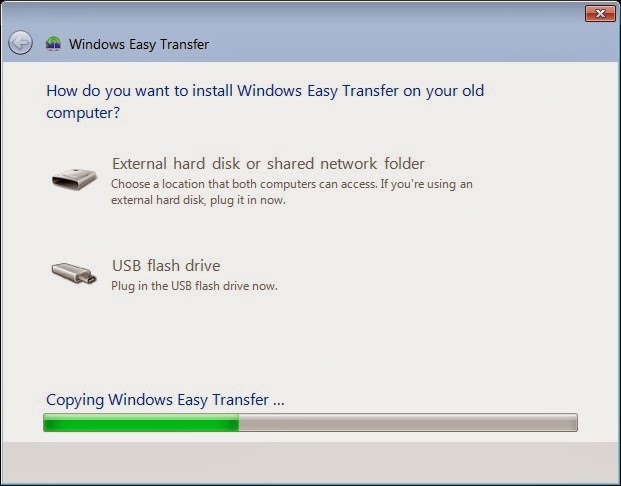
Once I select “I need to install it now” I get prompted for the location of to copy the Windows Easy Transfer tool on the screen below.
I will select the External Hard disk or Network folder.
From here you may browse for the folder that you intend to use to copy the Windows Easy Transfer tool so it can be installed on Windows XP. I will create a folder on central network location I established for my shared files. Note: Use a folder that you have permissions to write to. READ ONLY folders won’t work!
Click Ok once you have chosen the folder
The Windows Easy Transfer tools is copied to the network location
Now, on the old computer you will connect to the network location where Windows Easy Transfer was copied to, and install it on the old computer.
Double click on Windows Easy Transfer tool Icon.
Windows Easy Transfer tool installs
The Windows Easy Transfer tool runs on Windows XP
Click Next to start the Wizard on WindowsXP
Select Network Location
Select “This is my old computer”
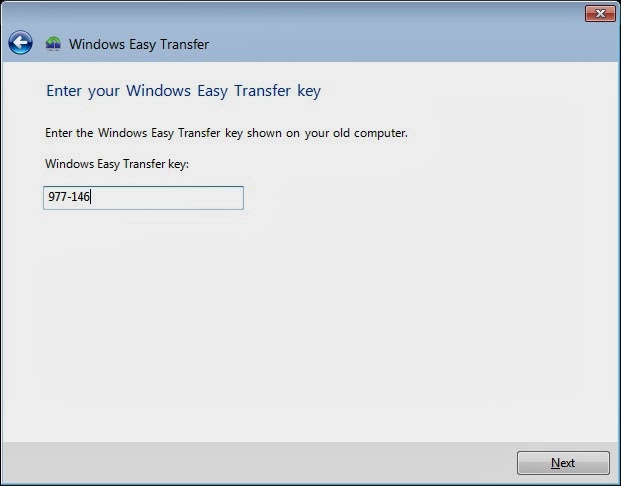
You will get instructions on screen to go to your old computer and enter a code to connect to the new computer
On the new computer enter the code provided on the old computer, and click next
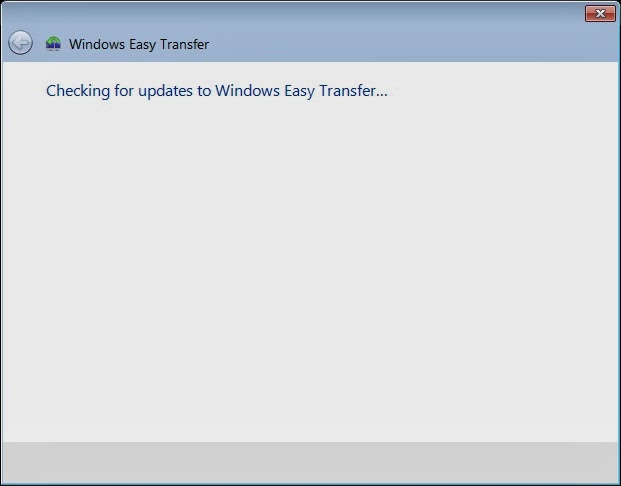
Windows checks for updates to Windows Easy Transfer
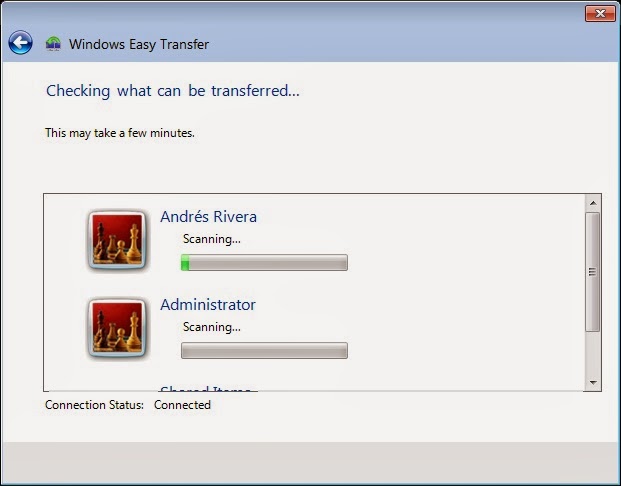
Windows scans for what can be transferred. This can take some time.
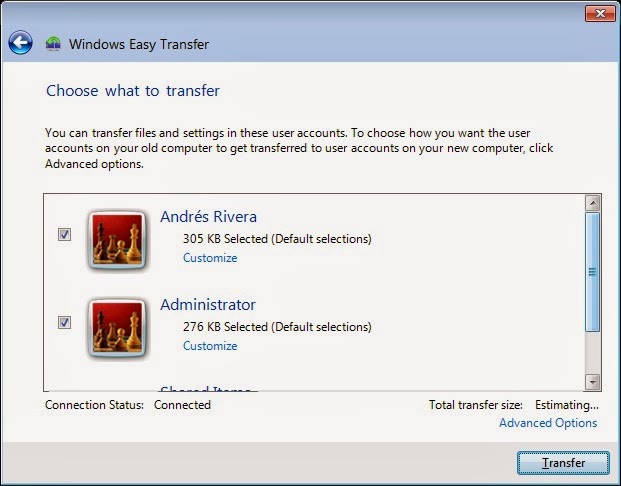
Choose what profile to transfer from the old computer, then click transfer. You may want to uncheck profiles that you do not intend to transfer, for instance profiles that contain large My Document files, and or service packs for the old computer that are not relevant to the new computer.
Windows Easy Transfer copies information from old computer to new.
The transfer completes and prompts you to see what was transferred, and suggest programs you may need to install to support transfered data files, such as Microsoft office files.
On your old computer you can close the dialog box.
On the new computer you can click on “see what was transfered”, and inspect the transfer report, and the program report to see what else may need to be done on the new computer to support the transfered data. On the new computer close the Windows Easy Transfer tool.
You are prompted to restart the computer to complete the transfer. Click “Restart now”.
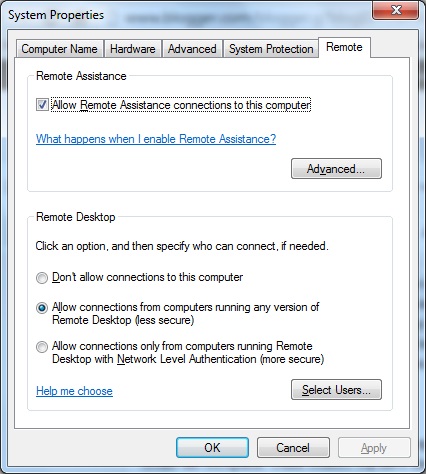
Think you need to get these programs from the internet such as goto meeting, logmein, or team viewer? You don’t, provided that you are running a professional version of Windows or Ultimate. These editions of Windows come equiped with Remote Desktop Server software that allows you to connect to them from any computer or device in the world that has the Remote Desktop Client on it. The program uses RDP protocol and uses port 3389 for communication. So you will need to configure your firewall to allow that communication.
First, enable remote control by going to remote settings and enabling Remote Desktop. Then select “Allow connection from computers running any version of remote deskop(less secure). I prefer to use this setting because you can use any mobile device, or older copy of Windows to connect.
On your router you will need to create an exception for RDP. In this example I used the routing page to create the exception. Other routers will have the setting in a Port Forwarding page.
Also you will need to create a Windows Firewall exception.
Once this is done you can connect to Windows Desktop from another computer or device using the Remote Desktop Client which is installed on all editions of Windows XP and higher. You can also download a client for your mobile device.
If you are connecting to your desktop from the internet you will need to know your ISP assigned IP address, or use Dynamic DNS to resolve the IP address. Using Remote Destktop is safer than those other programs because they envolve only the two computers in question, your client, and your server.
Most users go directly into their PC without a second thought about security. And while Microsoft will do its best to safeguard against malware, it can’t protect everything. There is a simple method that prevent most of accidental contaminations by email and web sites, and that is by creating a standard user account. A standard user account is one without administrative privilege. On the control panel go to create users and create a standard user account. Then logoff and login with the standard user account. Because the standard user account does not have administrative privilege, the OS will prevent rouge programs from making changes to your PC. This will keep most malware out of your PC, with some minor inconvenience when you actually want to make modifications. At which point you will have to logout and login with an administrator account that has privileges to make changes to the OS. Since most users computing is limited to checking email and facebook pages, this should not be to bothersome. Keep in mind that if you share your PC with other users, those users should have their own non-administrative standard account as well.