
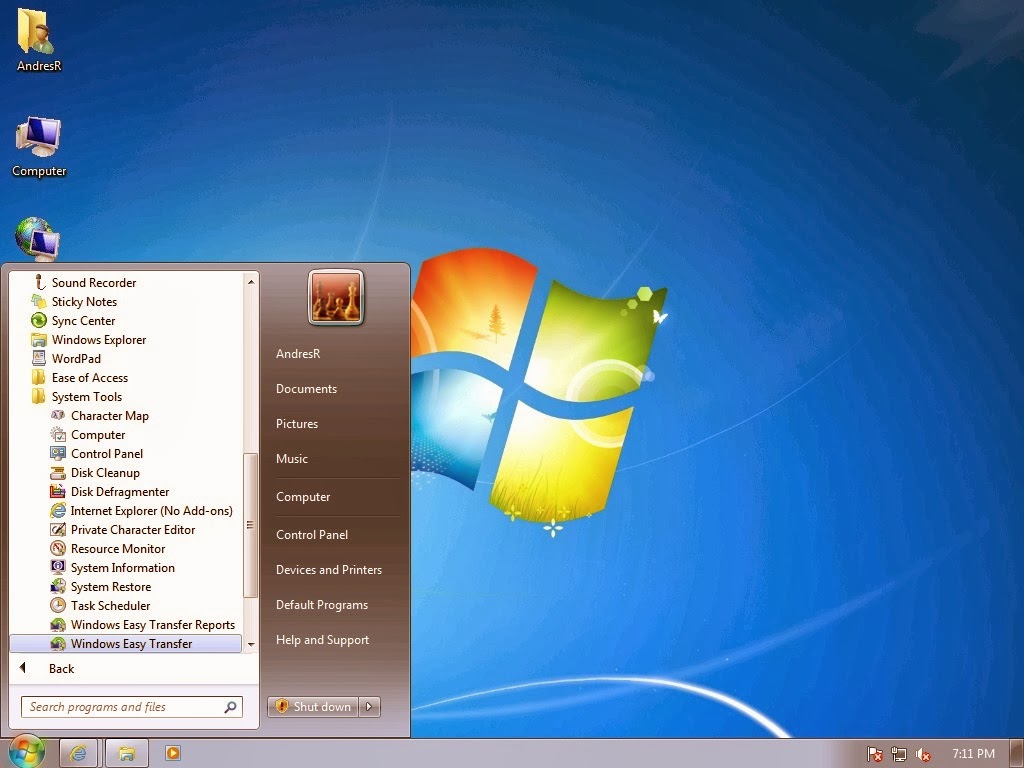
In this post I’ll discuss migrating settings and favorites from your old computer to your new computer using Windows 7 Windows Easy Transfer tool. First, go to the Start menu, and select Windows Easy Transfer from the System Tools submenu of Accesories menu.
The Windows Easy Transfer Welcome screen appears. This tool will transfer the information that you select from the choices presented on screen. Click Next to continue

You will be given a choice to transer information using an Easy Transfer Cable, a network, or an external hard disk or USB flash drive.

For this example I’ll be choosing the network option because it is readily available to me. Although the you could use an external hard drive. I think it is easier to to use either the easy transfer cable or the network, since the data to be transfered does not have to be transferred to the hard drive, then to the new computer, so you save some time.
When I click on the network button, I get the screen below. In this example I’ll be transfering from an Windows XP computer, so you must run the tool from Windows 7 first, and therefore I’ll select “This is the new computer”.

After I select the new computer, I get asked if I need to install Windows Easy Transfer on the old computer. I’ll select “I need to install it now”. If the old computer is running Windows 7 you don’t need to install the tool.

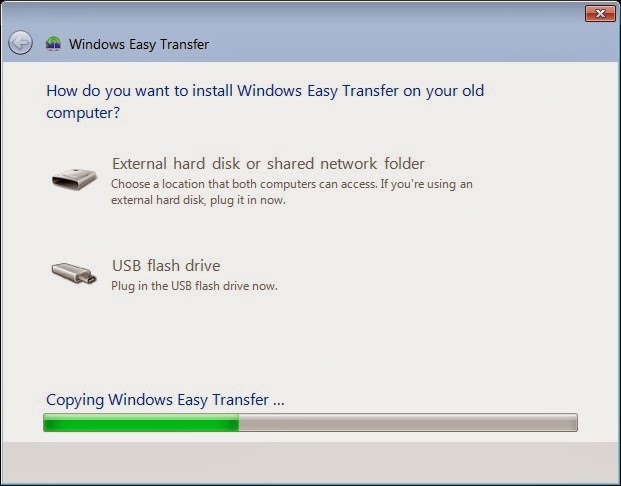
Once I select “I need to install it now” I get prompted for the location of to copy the Windows Easy Transfer tool on the screen below.

I will select the External Hard disk or Network folder.

From here you may browse for the folder that you intend to use to copy the Windows Easy Transfer tool so it can be installed on Windows XP. I will create a folder on central network location I established for my shared files. Note: Use a folder that you have permissions to write to. READ ONLY folders won’t work!

Click Ok once you have chosen the folder
The Windows Easy Transfer tools is copied to the network location

Now, on the old computer you will connect to the network location where Windows Easy Transfer was copied to, and install it on the old computer.


Windows Easy Transfer tool installs

The Windows Easy Transfer tool runs on Windows XP

Click Next to start the Wizard on WindowsXP

Select Network Location

Select “This is my old computer”

You will get instructions on screen to go to your old computer and enter a code to connect to the new computer
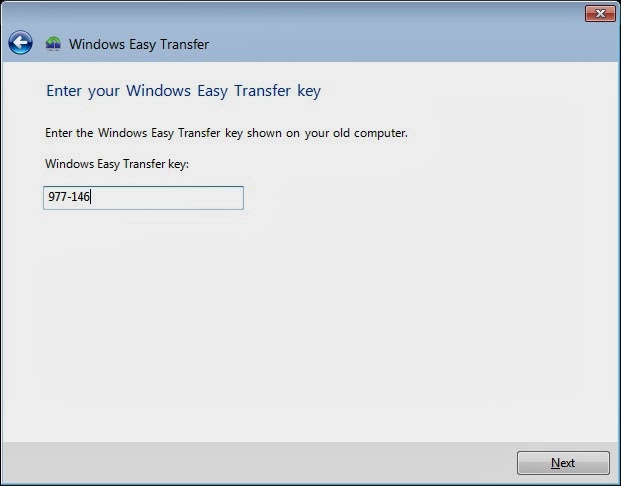
On the new computer enter the code provided on the old computer, and click next
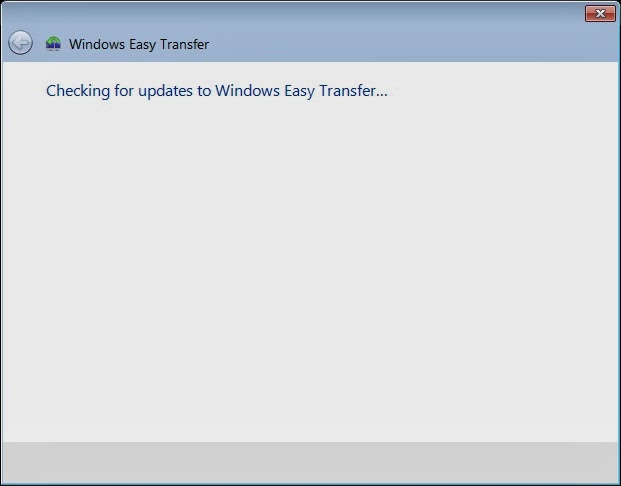
Windows checks for updates to Windows Easy Transfer

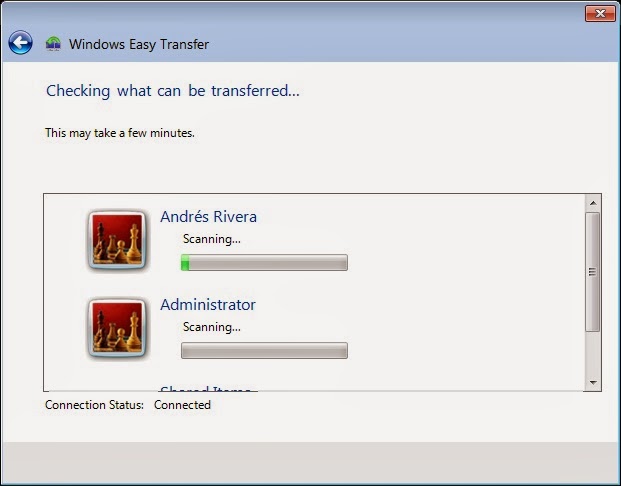
Windows scans for what can be transferred. This can take some time.
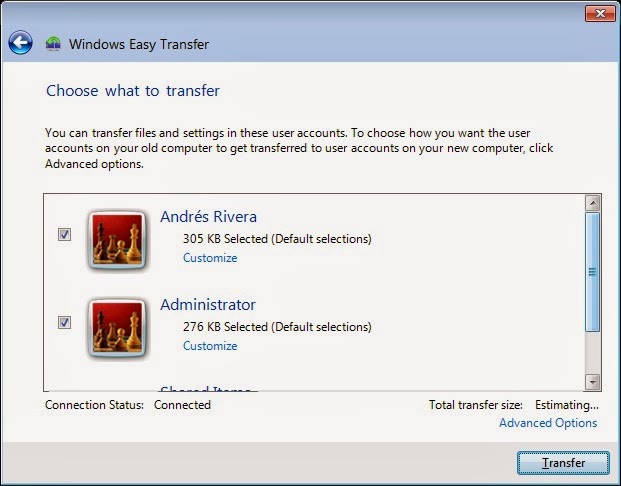
Choose what profile to transfer from the old computer, then click transfer. You may want to uncheck profiles that you do not intend to transfer, for instance profiles that contain large My Document files, and or service packs for the old computer that are not relevant to the new computer.

Windows Easy Transfer copies information from old computer to new.

The transfer completes and prompts you to see what was transferred, and suggest programs you may need to install to support transfered data files, such as Microsoft office files.

On your old computer you can close the dialog box.

On the new computer you can click on “see what was transfered”, and inspect the transfer report, and the program report to see what else may need to be done on the new computer to support the transfered data.
On the new computer close the Windows Easy Transfer tool.

You are prompted to restart the computer to complete the transfer. Click “Restart now”.