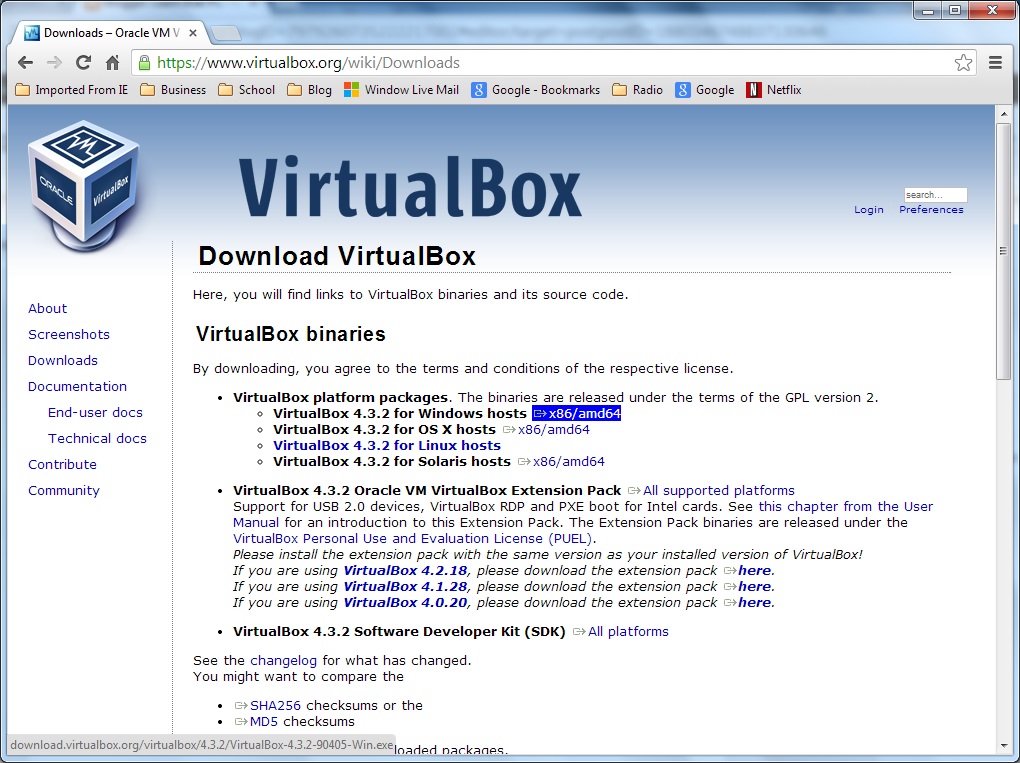
In my last post I introduced you to virtual machines. In this post I will show you how to set up Virtual Box from Oracle. You must first download the latest copy from www.virtualbox.org. Be sure to download the correct download for your particular type of machine. I will be performing the demo on Windows so thats the copy Im downloading.
Donwload link for Virtualbox
Once the download is complete run the installation program. After installation run the program from the start menu or desktop icon. You’ll get a menu like the one below:
On the upper left hand corner select the New button to create a new virtual machine. As you can see from the screen shot I arleady have three virtual machines that I can choose to run. When you click on the New botton the New Virtual machine wizard starts.
In this example I’ll be setting up this new virtual machine to run Server 2008. So I’l type Server 2008 for the name of the virtual machine. On the Version drop down list I selected Windows 2008. Then click next. You will get the Memory size dialog box. Virtual box will suggest appropriate amount of RAM to be dedicated to this virtual machine. The memory will be allocated to running the virtual machine on your computer
Click next to continue. The virtual hard disk dialog box will prompt you to create or use an existing virtual hard disk file. In this example will create a new virtual hard disk file.
Click Create to continue
You will be prompted to decide what file type to use. This is because you with the second and third choices, you can take the file and use in other virtual machine programs like VMWare or Hyper-V. Select the default and click Next to continue.
In this dialog box you are prompted to choose Dynamically allocated or fixed size. Read the description above and choose the dynamically allocated. Click Next to continue.
In this dialog box, you are prompted for hard disk file name, and maximum hard disk file size. Accept the default of 25 and click Create to continue.
Your new virtual machine is created and ready to run. All that is left to do is configure the virtual machine to boot from a CD ISO file. A CD ISO file is what you would download from Microsoft or other OS vendor and use to burn a DVD. In this case you can use the ISO file directly in Virtual Box. Highlight and click the new virtual machine then click settings on the menu
Select storage on the left column, then under storage click the empty IDE controller. Click the CD icon on the far right to choose the ISO file to boot the virtual machine with.
Select the ISO file and click open
The ISO file is selected. Click OK to close the dialog box.You are now ready to start the virual machine the will install Windows Server 2008 just like any other computer would. Click start on the menu bar
Your virtual machine starts from the ISO file. From here on the installation is standard. Just follow the on-screen prompts. Actual installation of the OS can be seen here